The idea of accessing the same company file in QuickBooks Desktop by multiple users is impractical without the addition of user license. User License is infecting mandatory for the multi-user mode. To master the process of adding user license in QuickBooks, make sure to follow the guidelines provided in the subsequent sections of this brief article.
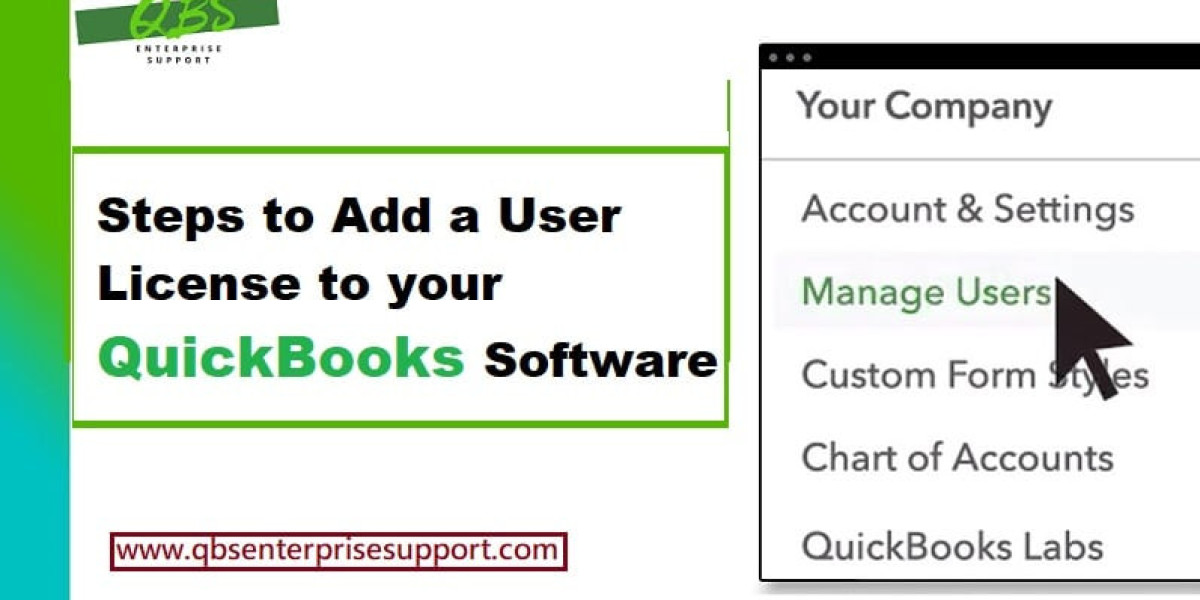
How can I add a User License in QuickBooks Desktop?
Implement the walkthrough given below for adding user license in QuickBooks Desktop.
Step 1: Checking for the Licenses in QuickBooks
For getting familiar with the number of user licenses in QuickBooks, readers should follow these steps:
- Start off by pressing the'F2'key.
- This action will open the'Product Information'window.
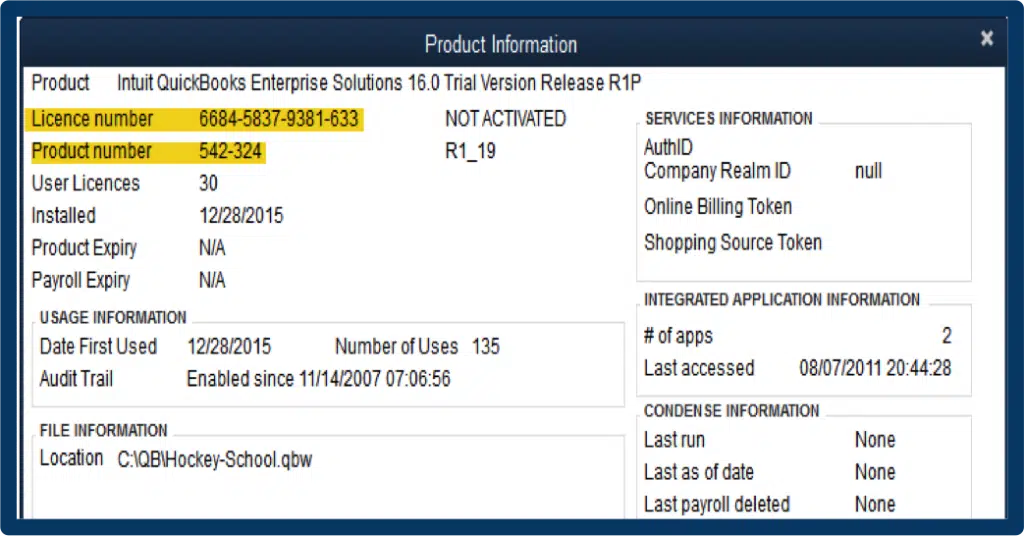
- Note the number listed for user licenses.
- Repeat these steps for each installation of QuickBooks Desktop.
Step 2: Obtain Pricing Information for Adding Users
If you need pricing information for adding users to your license, follow these steps:
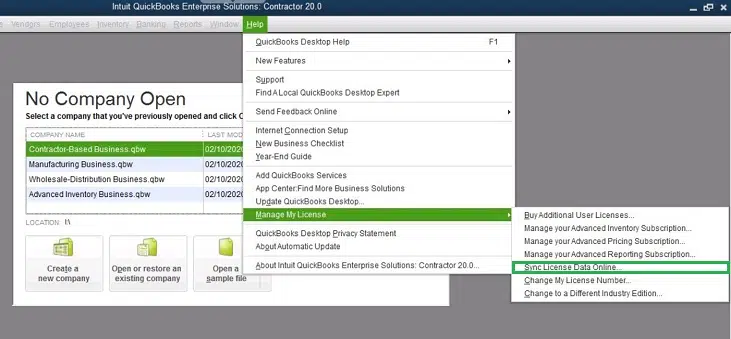
- Go to the'Help'menu upon opening QuickBooks.
- Click on'Manage My License'.
- Thereafter, click on the option to'Buy Additional User License.'
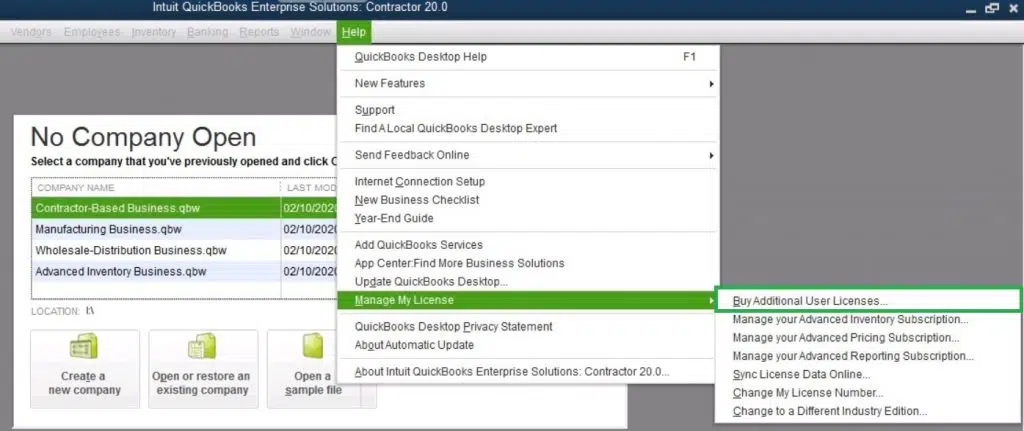
- If the option for'Buy Additional User License'is not available, it means you have reached the maximum number of users allowed.
- To view current pricing, hit on the'Add Seats Online'link.
Step 3: Purchase Additional User Licenses in QuickBooks Desktop
To purchase more user licenses, follow these steps:
- Run QuickBooks.
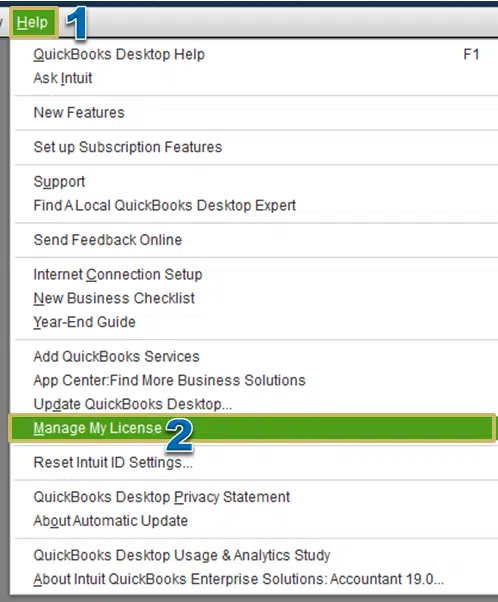
- Go to the'Help'menu.
- Click on'Manage My License'and choose'Buy Additional User License.'
- If the option is not available, contact Intuit through the provided phone option.
- If the online option is available, a new page will open where you can select the number of licenses you want to purchase.
- Install QuickBooks Desktop on other computersusing the same license and product numbers used during the original installation.
- Follow the on-screen prompts to activate QuickBooks Desktop. You can also sync license data online by going to the 'Help' menu, selecting'Manage My License,' and choosing to sync license data.
- If you are installing QuickBooks on a computer without internet access, manually update the new license information by going to the'Help'menu, clicking on'Manage My License,' and choosing to buy additional user licenses. You can also use the phone option and enter the validation code received during the purchase of the additional license.
Winding Up!
The guidelines discussed in this article should help readers inadding a user license to QuickBooks Desktop. If you have any further questions or require technical assistance from our experts, please contact our QuickBooks desktop supporthelpdesk at1-800-761-1787.